In the most recent posting in 100 ways, a couple of people asked how I got this effect.

How did I get the image to be on the right and all the text or links on the left.
The answer is…
Well there are two answers.
Firstly the image itself is from an excellent collection I bought quite a few years ago. These photo objects allow me to match the background of the image to the background of the page. Most image editors allow you to do this with images, advantage of the collection is I don’t need to do the editing so saves time. Alas the image is no longer available, which is a pity.
Secondly how to get the image on the right? Well you do need to know a bit about HTML.
When you add an image to Moodle (and in this example I am using Moodle 2) to a label or another text field, the default is to have the image embedded into the page.
Find the image.

This then inserts it into the label or other text box.

The end result is the image is to the left and any text added with just an inserted image, the text is at the bottom.

If you are using Moodle 2 you can click the image and click the align right button. However this won’t work in Moodle 1.9 or earlier.
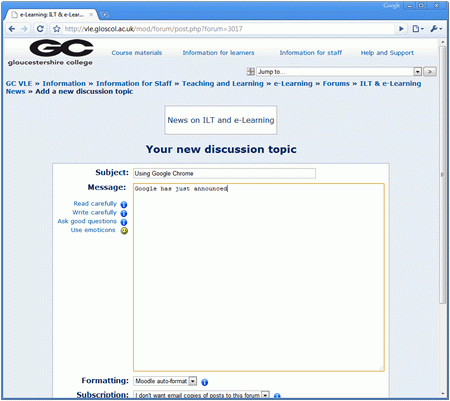
Hit the Edit HTML button.

The code for the image will be something like this.
<p><img src="https://yourmoodle/draftfile.php/13/user/draft/197347461/oldbooks.jpg" width="200" height="169" alt="Old Books" /></p>
What you need to add to the align=”right” or style="float: right;"
<p><img src="https://yourmoodle/draftfile.php/13/user/draft/197347461/oldbooks.jpg" width="200" height="169" alt="Old Books" align=”right” /></p>
Or
<p><img src="https://yourmoodle/draftfile.php/13/user/draft/197347461/oldbooks.jpg" width="200" height="169" alt="Old Books" style="float: right;" /></p>
Of course use “left” if you want your image aligned to the left.
The text with the image aligned to the right now wraps around the image and importantly starts from the top aligned to the top of the image.

Allowing you to have text on one side or content and the image on the right. If you align to the left then the image will be on the left, and the text wraps around the image and importantly starts from the top aligned to the top of the image.
If after the label you have activities or links to resources these will also be wrapped around the image.
You do need to consider the design of the page. By having images on the right you do need to have enough content on the left, otherwise you may have too much white space. Then again some white space can add to the design of the course.